Skill Level
Beginner
Required Skill Set
Cast-on, knit, purl, knitting in the round, bind-off
Sizes:
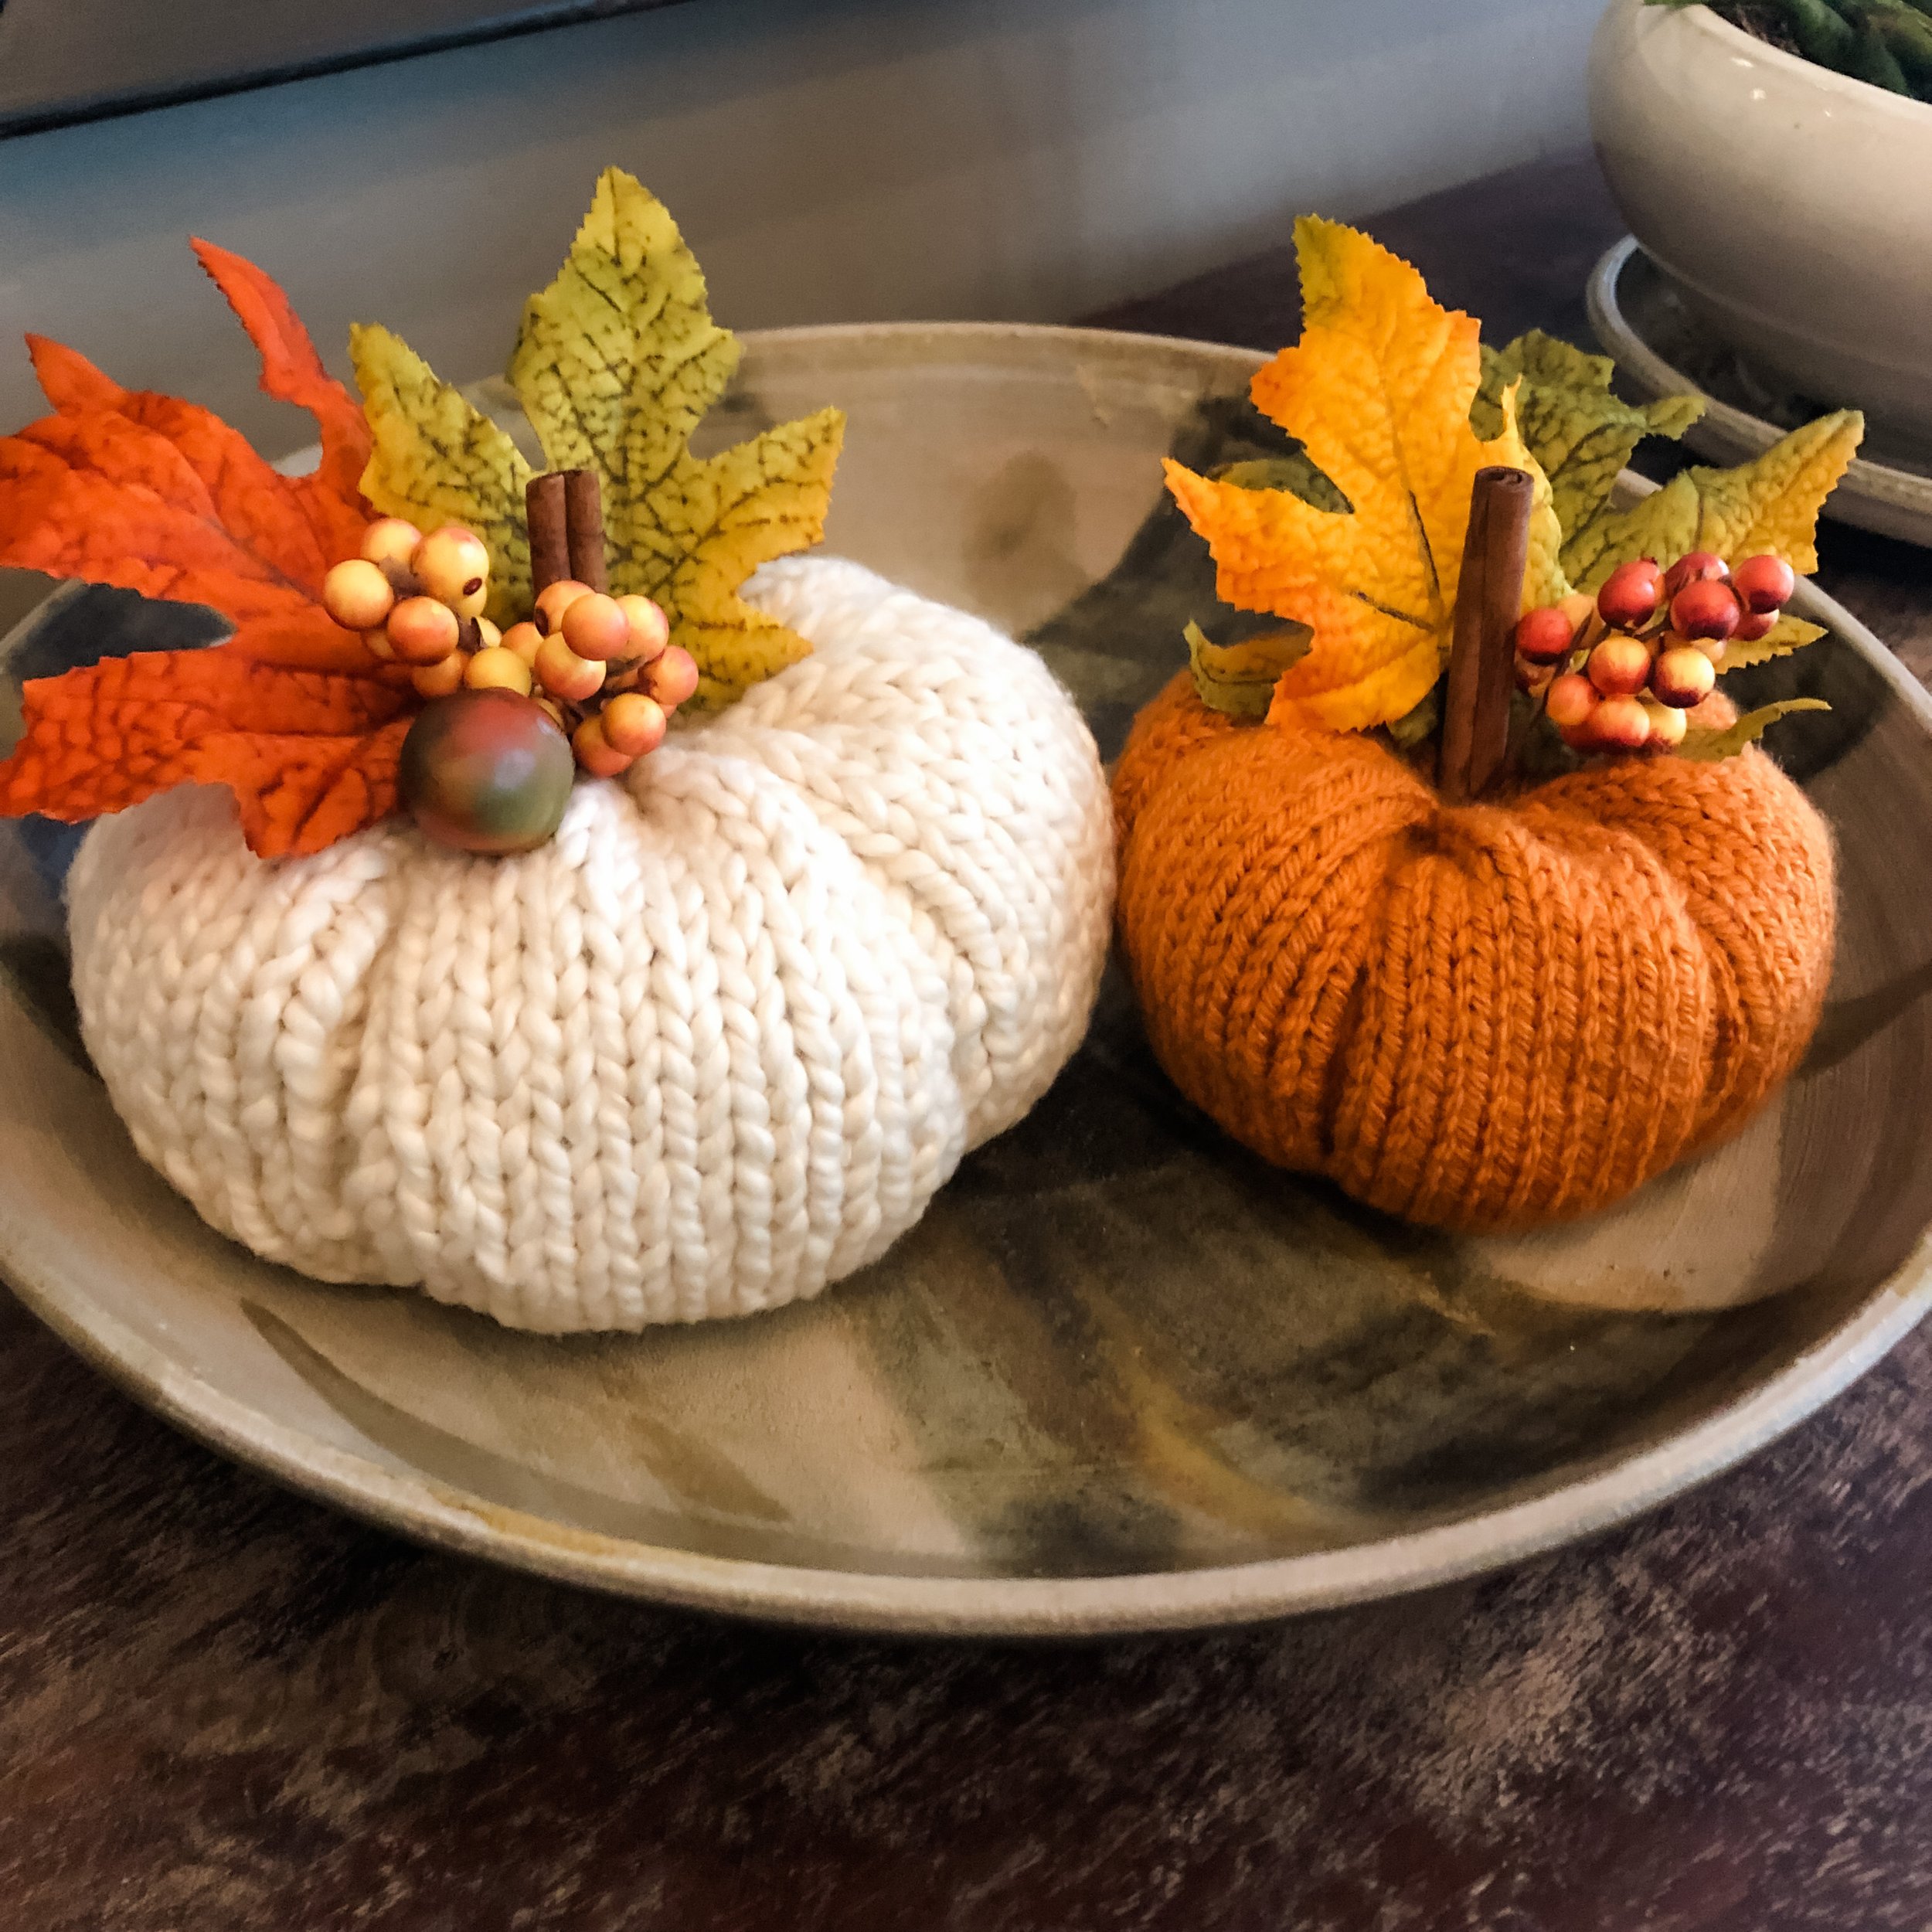
Finished measurements Approximately 3” high X 15” circumference for the smaller pumpkin and 4” high X 21” circumference for the larger pumpkin. (Yarn thickness can be changed to get smaller or larger sizes of pumpkins)
Yarn
Yarn Bee – Soft and Sleek Chunky – (1 skein will make several) – Hobby Lobby
Yarn Bee – XXL Cotton (White Super Chunky) – (1.25 skeins will make one) – Hobby Lobby
Note: I would start with the Soft and Sleek. It is a bit thinner yarn and easier to assemble. The XXL Cotton is chunkier and is super cute but it’s much more difficult to work with and to assemble.
Needles
Suggested needles:
16” (40cm) circular needle, size US 7 (4.5mm) or size needed to obtain the following gauge for Soft and Sleek Yarn
16” (40cm) circular needle, size US 10 (6 mm) or size neede to obtain the following gaug3 for XXL Cotton Yarn
Gauge
Roughly 16 sts and 20 rows = 4 inches (10 cm) in Stockinette Stitch using Soft and Sleek Yarn
Roughly 12 sts and 16 rows = 4 inches (10cm) in Stockinette Stich using XXL Cotton
Note: Pumpkins are worked at a slightly tighter gauge than the yarns call for so the fiberfill stuffing won’t show when the pumpkin is assembled,
Notions
Blunt Tip Needle
Stitch Marker
Fiberfill Stuffing
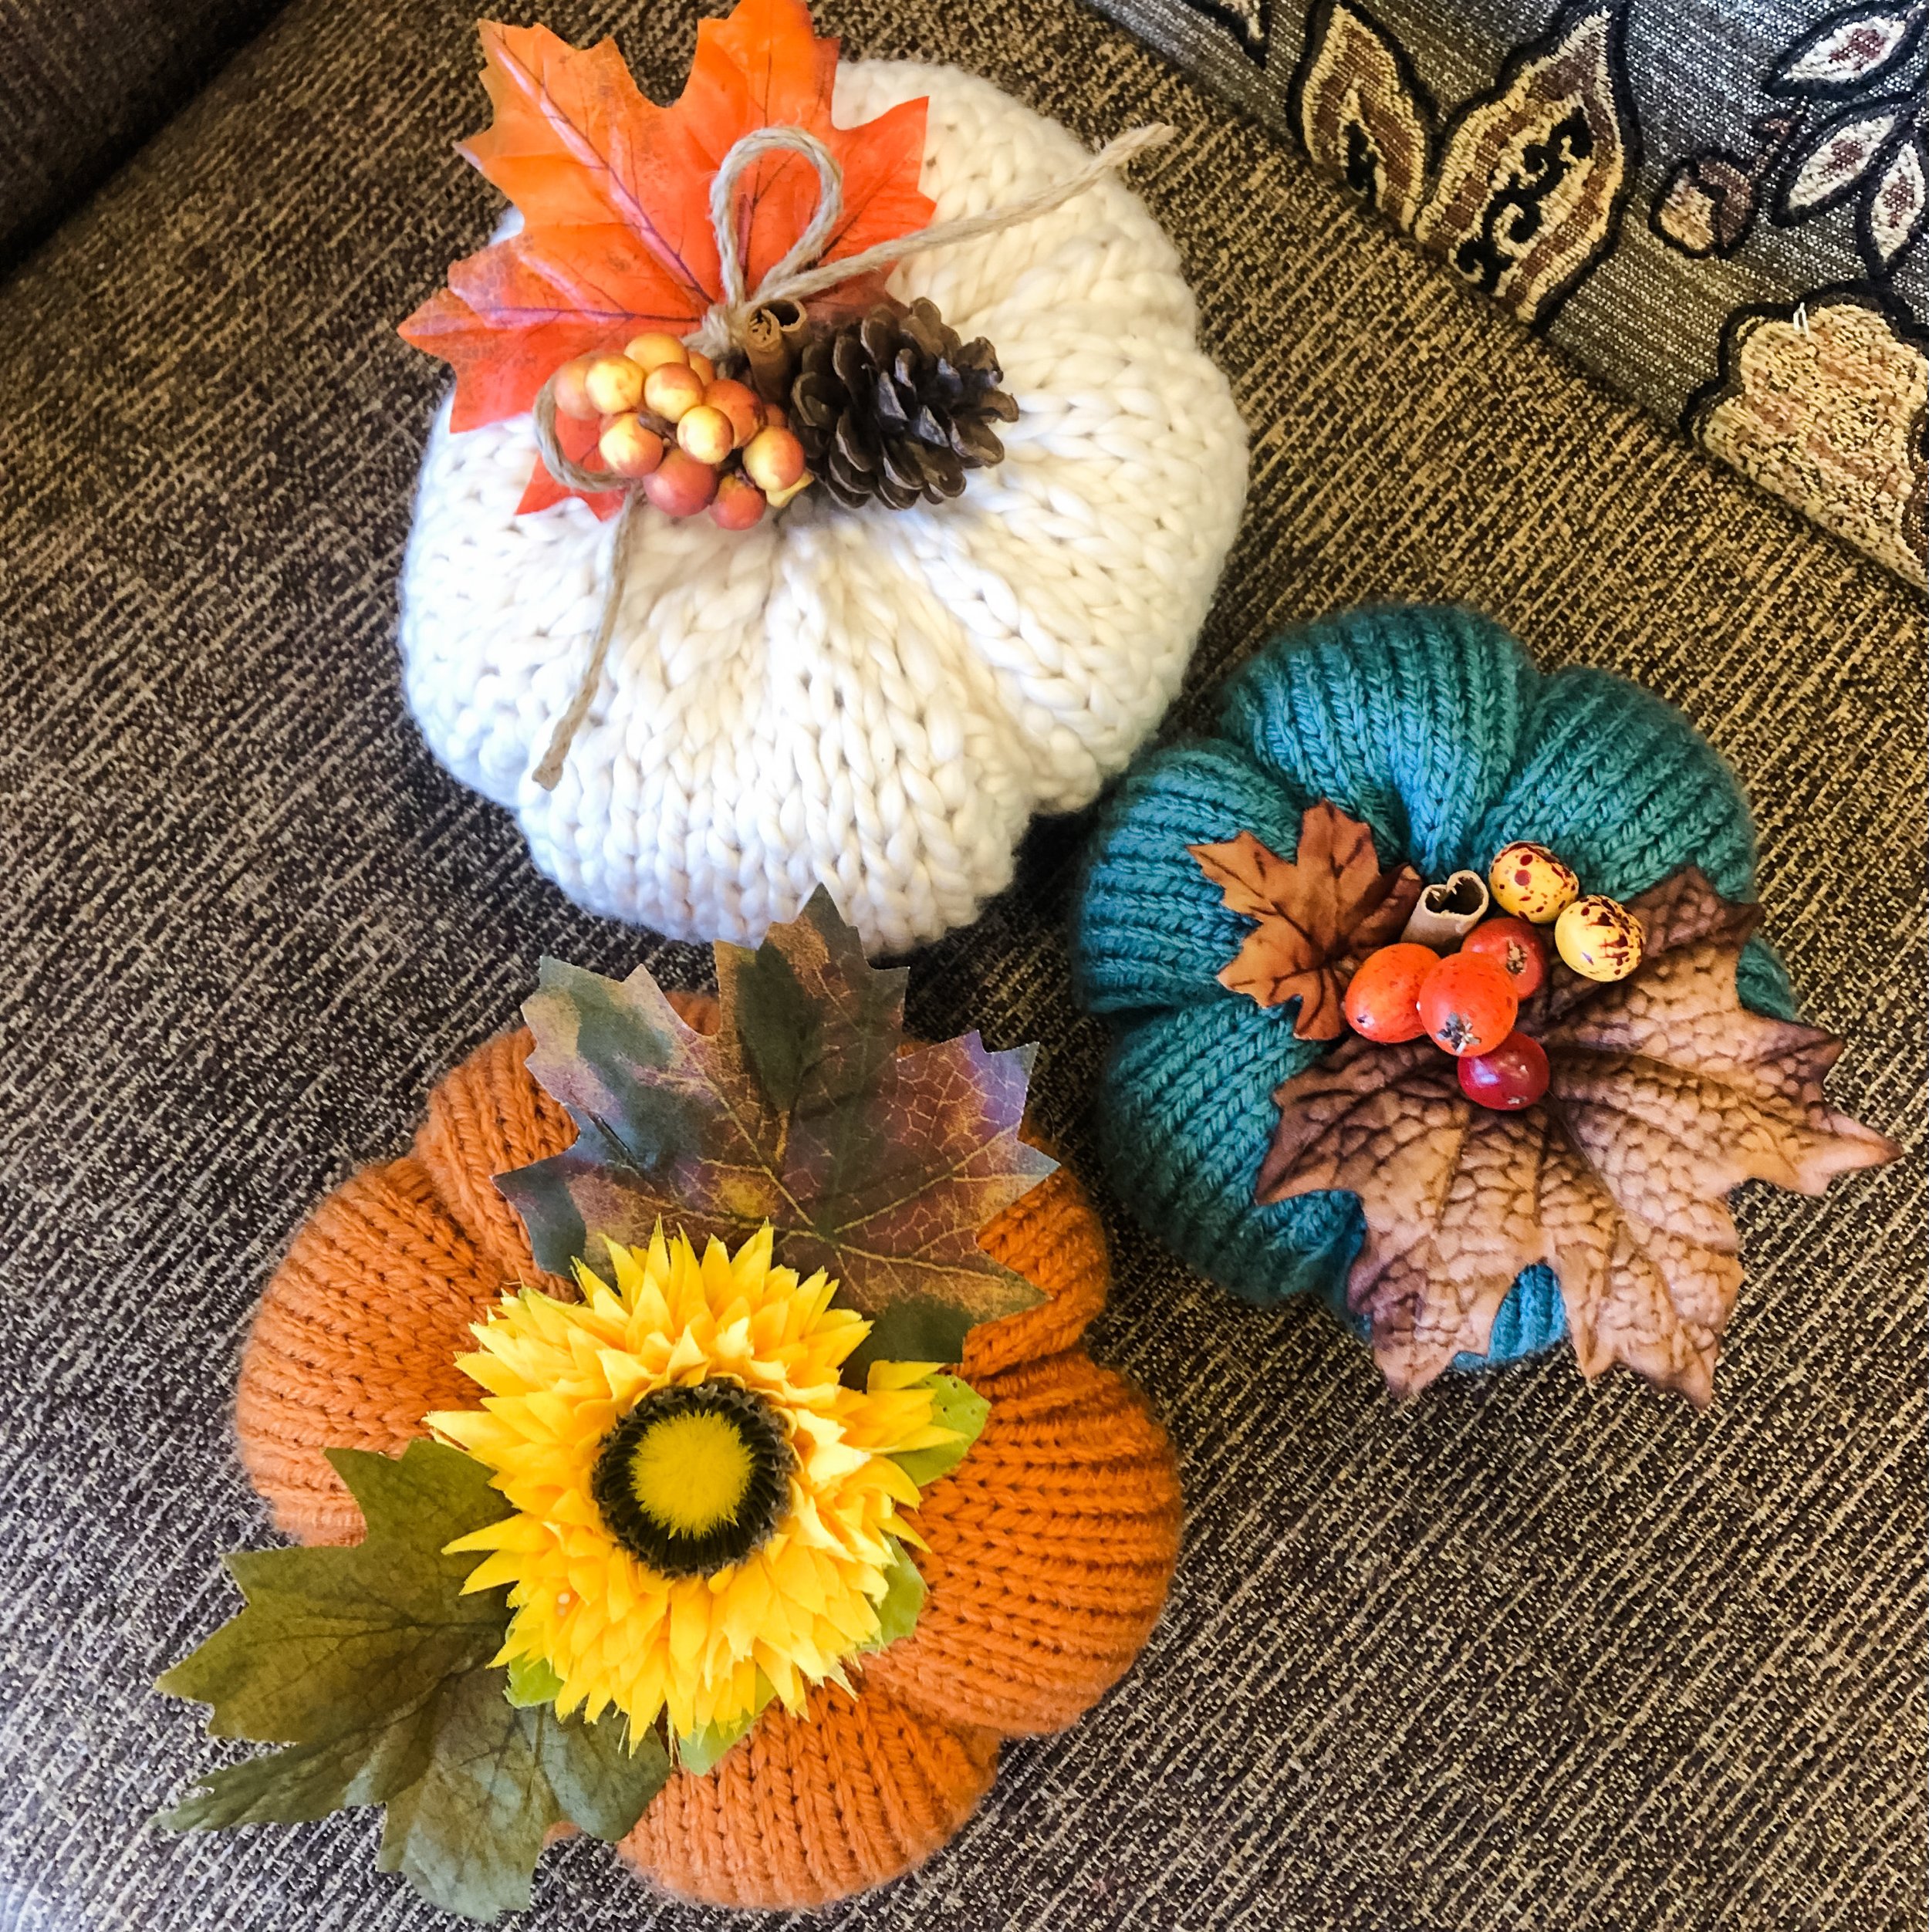
Embellishments for leaves, berries etc. and cinnamon stick or other stick for Stem
Construction Overview
These little pumpkins are made by casting on and working a wide rib for a specified number of inches. The bottom is cinched up and the pumpkin is filled with fiberfill. The top is then cinched up and techniques are used to shape the ridges of the pumpkin. Purchased embellishements finish it off.


